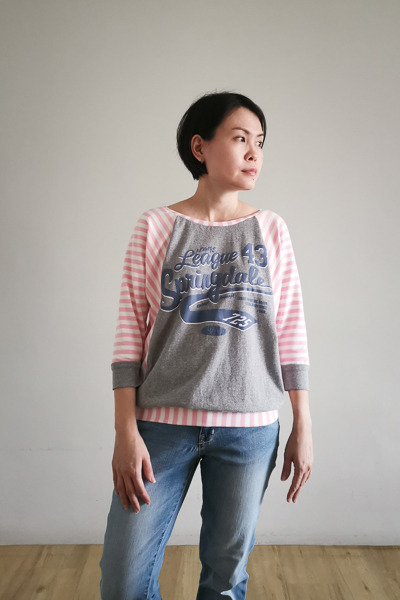
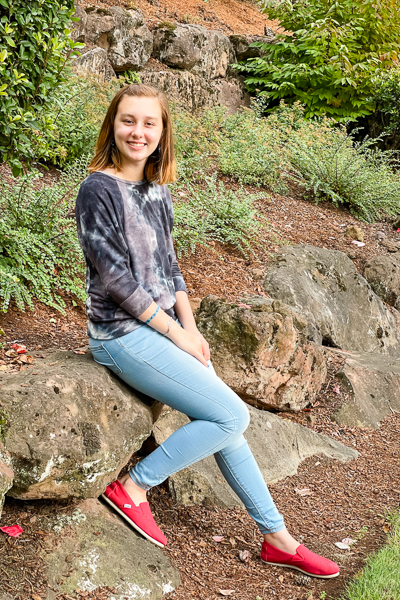
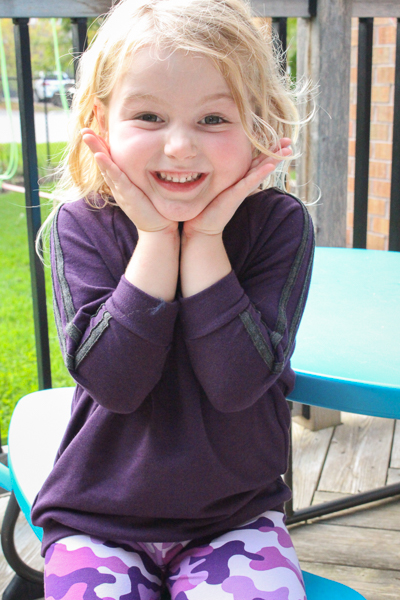
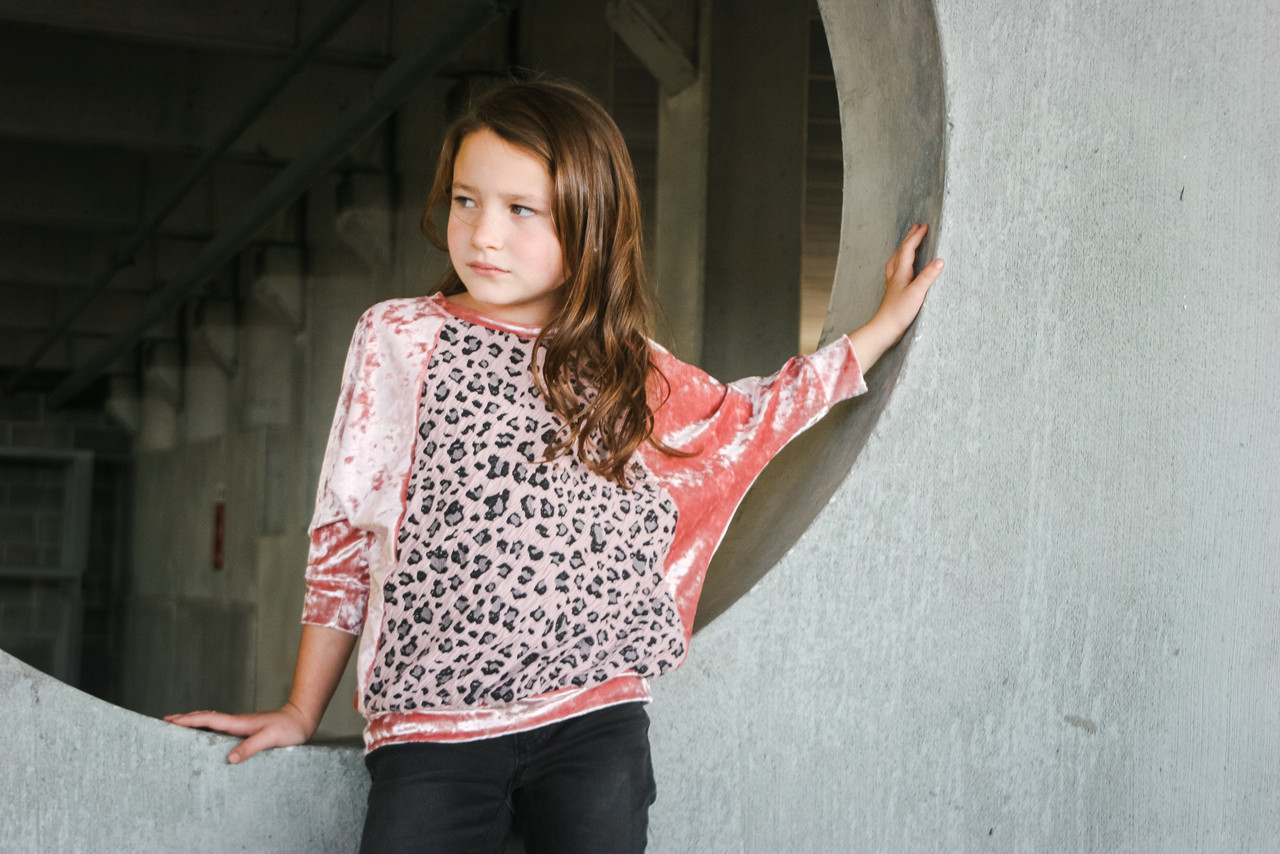
No, I'm not talking about a Toyota here (even though my husband and I have been stalking the new 2022 Tundra release - I'm liking the blue colour.) Our Tundra pattern has been a favourite for many people and I can list off a few closets that I know are full of them. But now we have Birch and with its relaxed fit and quick construction my own closet is starting to show that Tundra has some competition.
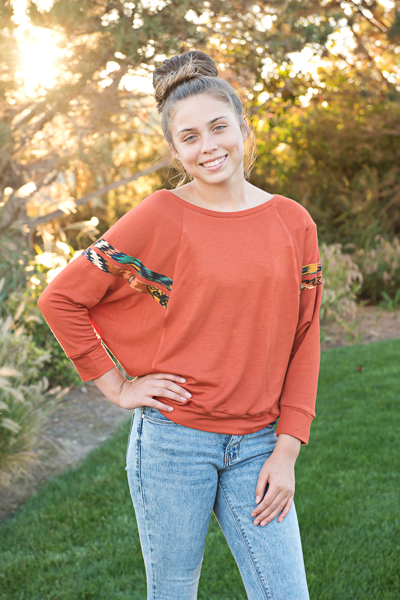
So let's talk about the new kid. Birch is available in both Sofiona size charts and sure to appeal to many. Girls' Birch is sizes 2-16 and junior Miss Birch is sizes 0-20. Here's the pattern details:
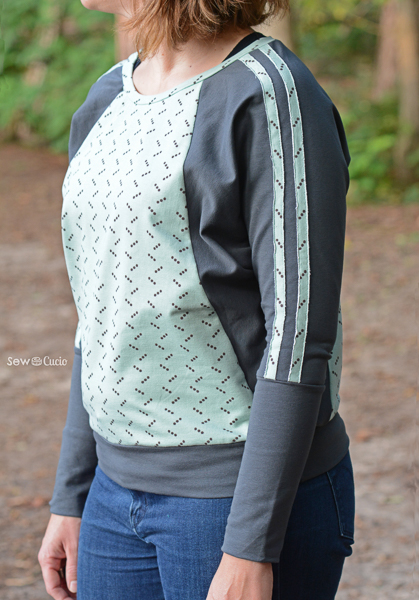
- deep raglan "batwing" top
- 3/4 length cuffed sleeve
- two optional stripe details for the sleeves
- 2 cut lines for the hem
- 2 hemming options - elastic or cuffed
- subtle boatneck neckline (a bit more boatneck on the junior miss)
- off-shoulder neckline (junior miss size range ONLY)
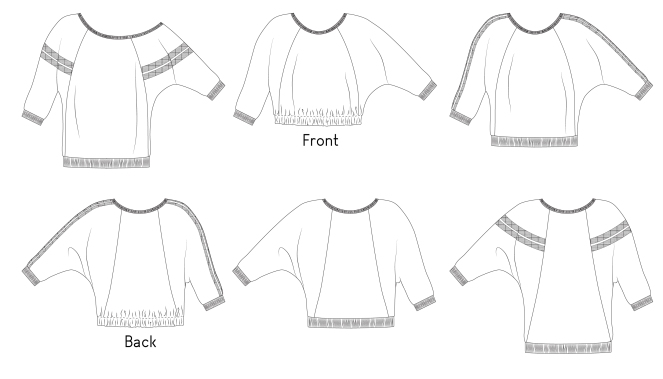
Hemline - When it comes to the hemline the two cut lines and 2 hemming options give 4 possible finished lengths. The elastic hem is a bit more sporty and is the shorter option for each cut line. It's a great choice for the high waisted trend we are all very familiar with by now.
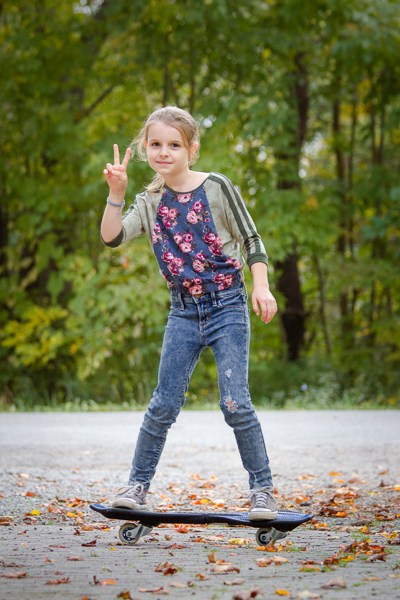
For the smallest of our girls' size chart, 1/2" elastic may be preferred over of the 1". Just fold the hem up 1" and topstitch at 3/4". It'll give an extra 1/2" overall top length.
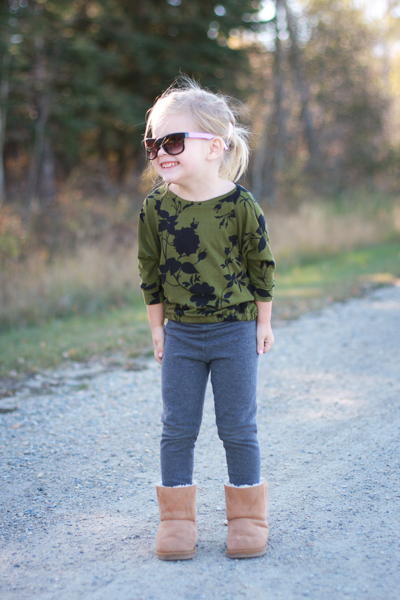
One of our testers had some fun with an exposed elastic waistband. It maintains some of the length of the cuffed option but showcases decorative wide elastic. Here's a quick look at what she did in case you also want to try it.
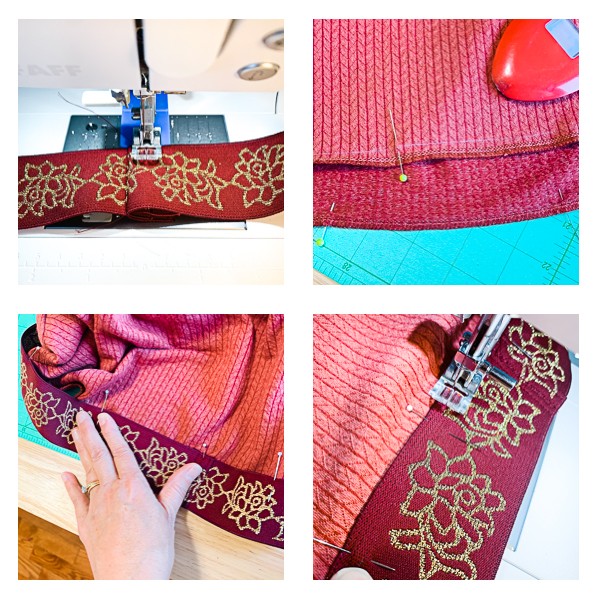
- First, create a loop with your wide elastic and fold the short, raw edge over on the top to keep it looking neat. Sew it down.
- Next, finish the bottom edge of the top with a serger, if you like. Most knit fabrics won't fray and therefore won't need it, but you might prefer it.
- Once that is done you'll want to draw a chalk line about 1/4-3/8" above the bottom edge all the way around on the RIGHT side of the bodice.
- Next you'll need to section both the elastic and the hem into equal sections. We'd suggest about 8 sections and you can see our post on quartering for more info on how to do that.
- Match your marked sections on the elastic to the hem band and place the elastic on top of the right side of the bodice. Line up the edge of the elastic along the marked line you drew earlier. Pin in place at those marked locations.
- Stretch the elastic between each marked section until it matches the width of the fabric and pin to evenly distribute the fabric within each section.
- Sew all the way around to attach the elastic. Remember to stretch the elastic as you're sewing so the fabric doesn't get weirdly bunched in your seam. And use a zig zag stitch.
Now I'm really wondering about fabric to go with some wide elastic I bought years ago. Isn't this a great hack idea?
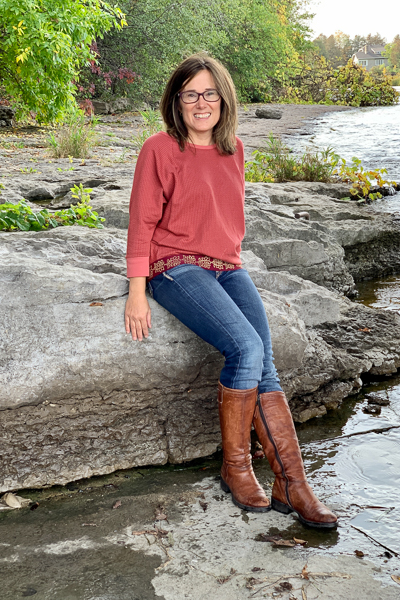
The cuffed hemline is what I would call the more relaxed/ loungewear look. It's the longer option for each cut line and we know many people prefer a cuff for a quick, easy hem finish. This is likely to be the go-to hem choice for the quick makes.

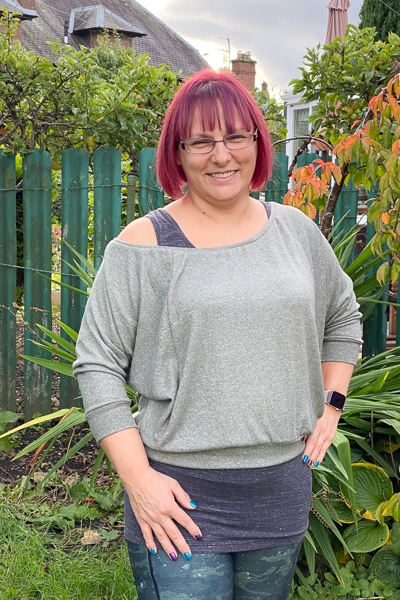
Off shoulder neckline - There's one big difference between the Birch and the Miss Birch - the second neckline option for the junior miss size range. For the Miss Birch I've added an off-shoulder cutline. There's something about the slouchiness of this pattern that said "off shoulder" to me. A cute strappy sports bra or our Wild Strawberry bralette make for a cute layered look. But with this neckline, it does force one to stop and think clearly before cutting. I'm recommending to cut the ENTIRE bodice and sleeve pieces first and then to trace the top sections of the pattern pieces to be used as templates for the wider neckline. The tutorial shows how to lay the traced pieces onto the cut bodice pieces before trimming away the extra fabric. This CAN be done just using the pattern piece, but PLEASE pay attention to right side of fabric and how they will go together once cut. The last thing you want is a backward panel because the angle was cut the wrong way!
A few testers suggested that I give extra help with how to section the off-shoulder neckline for attaching the neckband. It's not a typical "find centre front and centre back" kind of thing so here is a quick collage and instructions for this particular neckline.
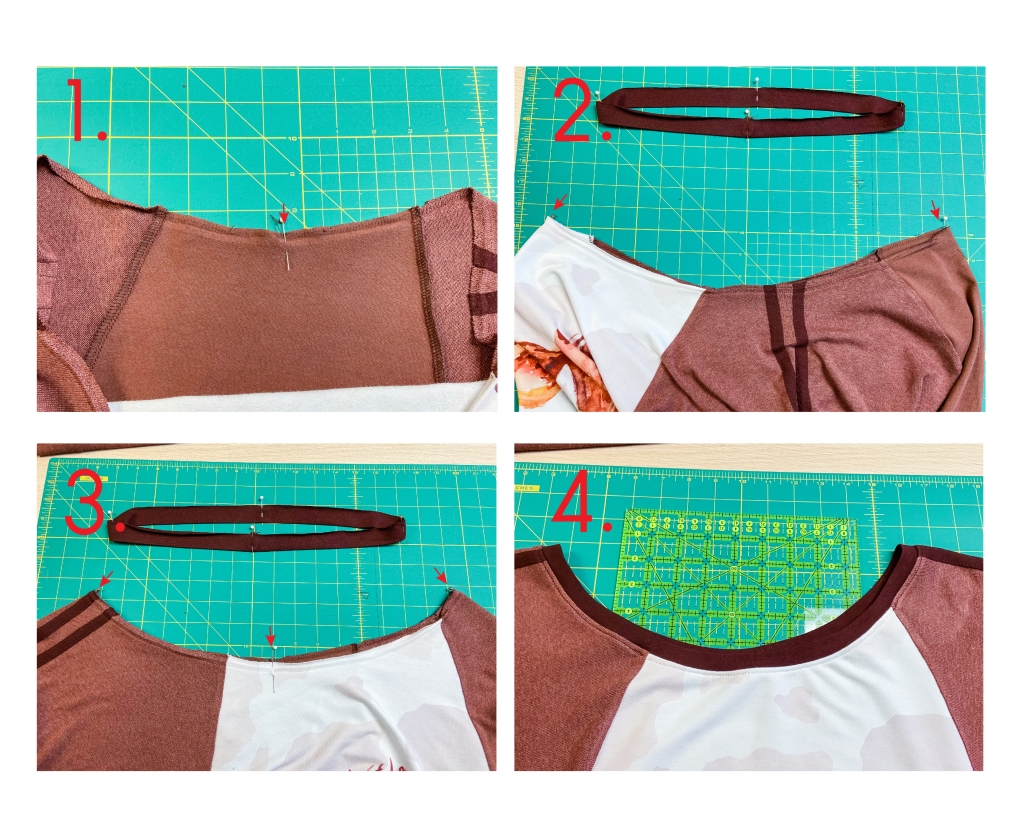
- Start by marking the centre back on the neckline. I like making sure my neckband seam is always centre back so I have quick reference for which side of my shirt is front/back.
- Carefully fold the neckline exactly in half aligning the raw edges and mark the opposite side. See how it's quite aways off of centre front?
- Match up your first two marked locations and align the raw edges to locate the quarter marks. You now have 4 equal sections to match the 4 equal sections of the neckband.
- Sew it on and topstitch!! BUT......
....... While we're talking about the neckline I want to point out/warn you that this particular neckline requires a fabric with good recovery on the band. I first attempted to use some sweater knit against my own better judgement and it fell SOOOO far down my shoulder it was nearly an embarrassing moment. Here's a picture of how far it stretched out in comparison to what it should have been.
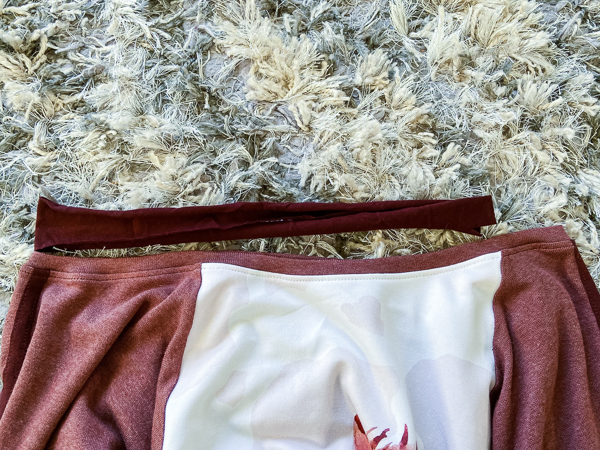
This also happened to a tester who used double brushed poly. Because of this, we highly recommend basting the neckband on for a check just in case you need to make it smaller or use a different fabric. Basting stitches are a lot easier to rip out than something already serged and topstitched. Ask me how I know....
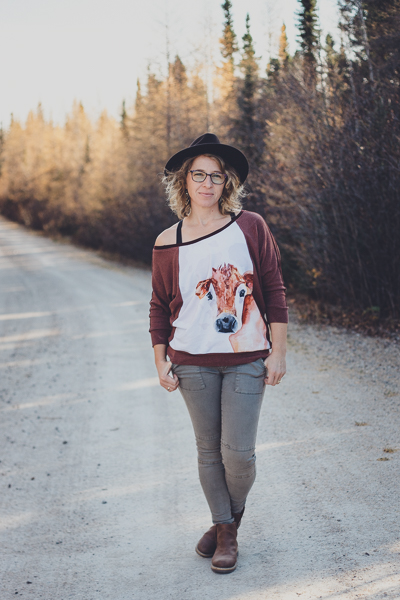
It was annoying to rip out and do again, but I'm so glad I did because this here is my FAVOURITE Birch.
Fabrics - If there's one thing we find out quickly when sewing with knits is that it can vary a LOT from one kind to another. Birch is a pretty versatile pattern that can work with a number of different knit fabric types, but almost every type comes with something to consider. The things to keep in mind are:
- Loose fabrics like a waffle knit or many sweater knits or heavy fabrics with drape like bamboo jersey do not have a not of recovery or structure which means the neckline will likely end up feeling wider. Consider sizing down in either the neckline or the whole garment for these types of knits if you don't want it to feel oversized. However, you may WANT that cozy, oversized look and we don't blame you! Just keep the neckline width in mind.
- Fabric without stretch such as some brushed sweat fabrics make for very cozy sweaters, but the lack of stretch may end up feeling too restrictive on the sleeves. Consider sizing up for the bottom section of the sleeve when using fabrics without a lot of stretch.
- Structured knit fabrics such as some cotton jerseys (I find custom cotton jerseys fall into this category a lot) can also feel restrictive on the lower section of the sleeve. Even though it has the stretch percentage that you need, some fabrics just have a higher recovery and therefore feel tighter than others. Something to keep in mind. I really do love my cotton jersey Birches though!
- Cuffing fabric is not something everyone keeps on hand and many, many of us like using our main fabric for cuffs. This means using fabrics that could have any one of the different factors mentioned above and more. It's best to make a trial cuff and check it before just sewing them on. You want it snug enough to hold it in place on the forearm, but not uncomfortably tight. Allow for some variance and make any adjustments you need to. The pattern is drafted primarily for cuffing fabric with some leeway for fabrics with a minimum 50% stretch.
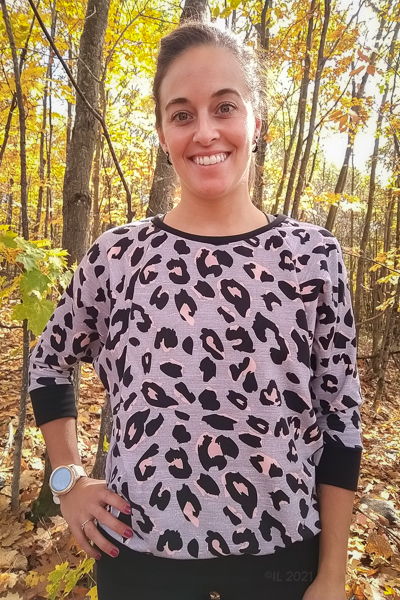
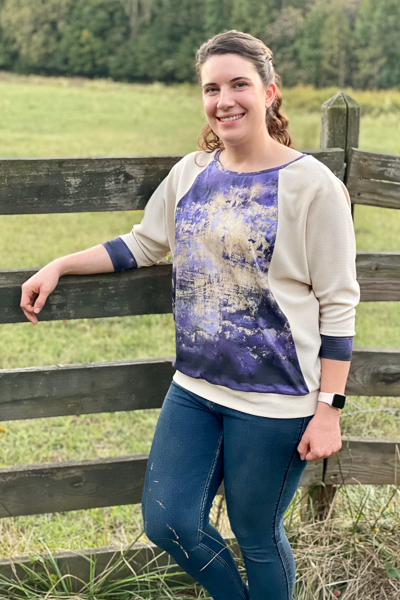
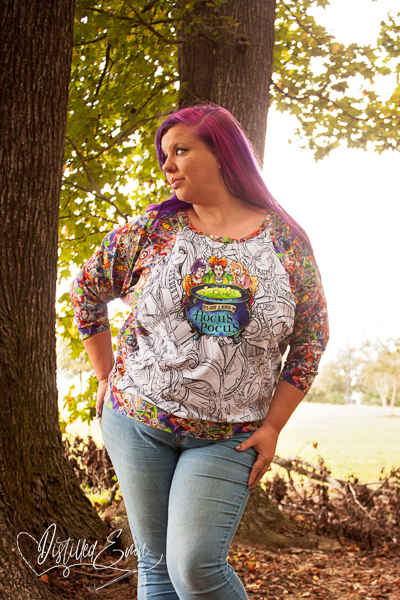
On the topic of fabrics, can we just show you how amazing this pattern is for those custom panels??

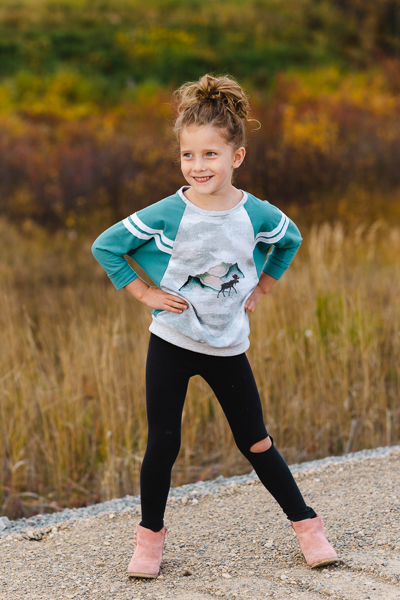
Lengthen/Shorten Lines - If you need to make any height adjustments on Birch, you'll find that it can be a bit confusing if you're not used to looking at strange pattern pieces. I've included an extra section in the tutorial for this. I know for the girls' size range, in particular, adjusting for height is almost always done by simply drawing the line to the next size to blend the height difference. In this case, the sleeve piece is nested in a different way and will not be the same distance as the bodice pieces. You'll end up with different lengths. For this reason, we've included lengthen/shorten lines on the girls' Birch as well.
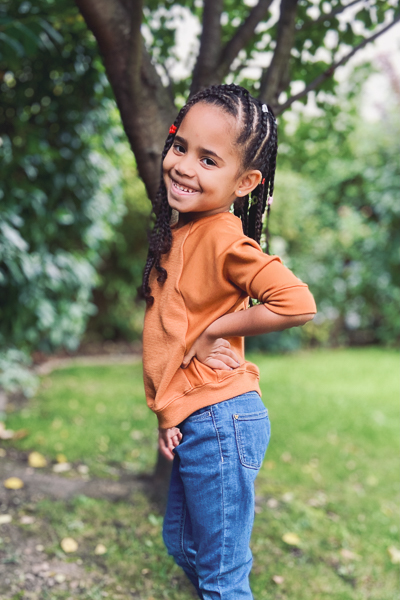
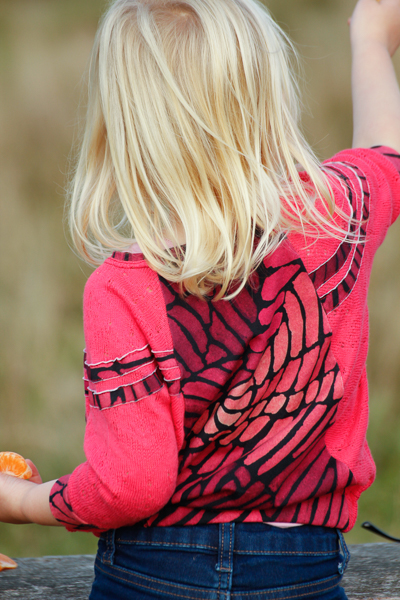
Lastly, in case you haven't noticed, there is only one sleeve length for this pattern, but a few testers wanted to play with a longer cuff length. You might be interested in this hack for yourself so here's a peak of one. This was achieved by simply adding more length to the cuff. Let us know if you try it too.
I think that's all. For such a simple pattern that felt like a lot to say! LOL But I sure hope you've gained some inspiration and some tips for making a whole pile of this addictive pattern.
Don't forget that both size ranges are available in the Birch Bundle for more savings.
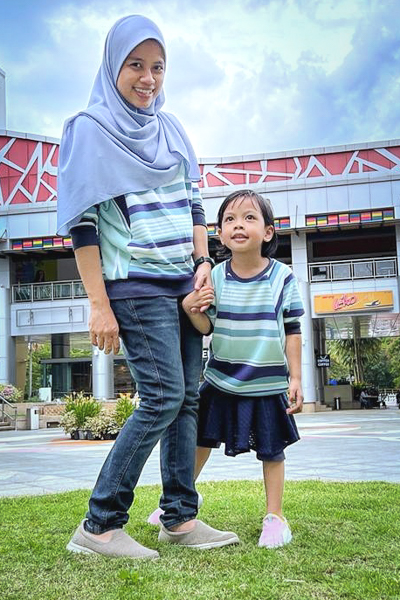
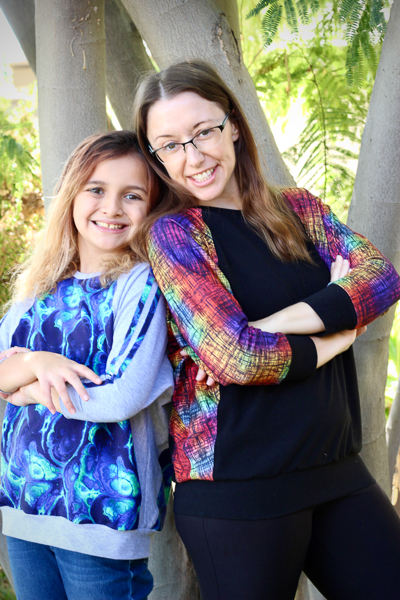
Share your final Birch or Miss Birch with us in our Sofiona Sewing Group on FB or on IG. Use hashtags #sofionadesigns #sofijuniormiss #sofibirch #sofimissbirch #birchinthewild so we can see too.
