
Who doesn't love a nice cozy sweater? With this in mind and in keeping with the Sofiona style of fun angles and details, I set out to design one. For any new project we usually begin with a basic vision and a name. I had a vision, but I needed a name! I wanted something that would evoke those cozy feelings, but also sort of work together with the Rocky Shore Tights name (because this hoodie was meant to pair perfectly with them). After some deliberation we settled on "Bonfire". Can you picture it? A cozy bonfire by the rocky shore on a cool Canadian evening?!?!?!
We just love the colour and fabric combos Lauren chose for her Bonfire!
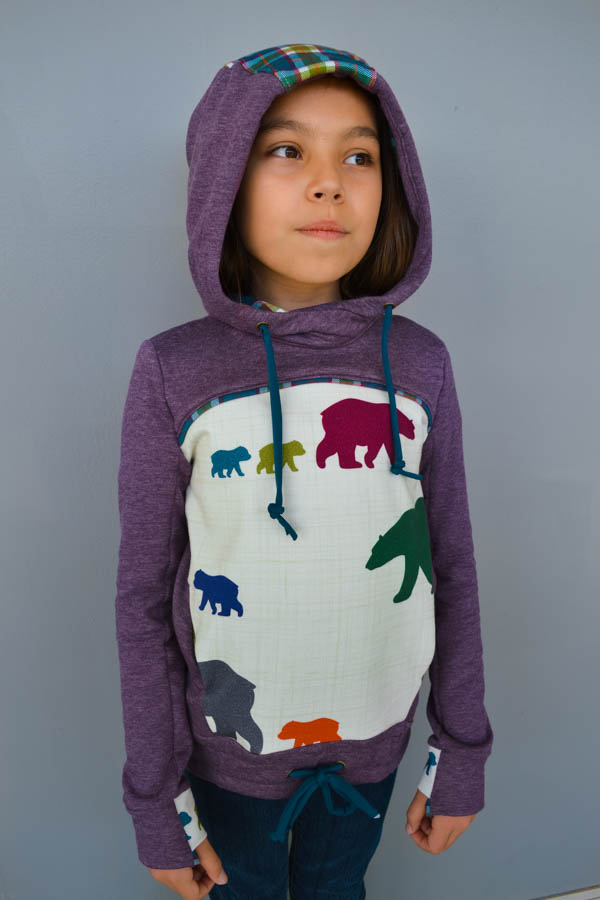
For this particular sweater I chose to use a gusseted hood (and then line it to hide all those seamlines). Due to the fact that it's meant to be made of mid-heavy weight fabrics, I think this style just sits smoother and has a more natural shape to it. I've also included a facing on the lining. It doubles as casing for the hood drawstring, as well as a detail feature. It can be made with a "pop" of colour, or out of the same fabric as the main hood. What I love about using the same main fabric for this is that it helps hide any seam "roll over" (also accomplished by the under stitching) and keeps that front hood opening looking more flawless. If rushed for time it IS entirely possible to skip the hood facing/lining pattern pieces and rather use the Main Hood pattern pieces to cut a matching lining from.
Amanda chose to contrast her hood gusset with a coordinating fabric. It's been so fun to see all the different piecing combinations everyone came up with!
For those in a rush, or just not that into hoods all the time, I've also included an option for finishing the neckline with a neckband and therefore giving you a hoodless hoodie. (But I'm keeping the name.....hood or not!)
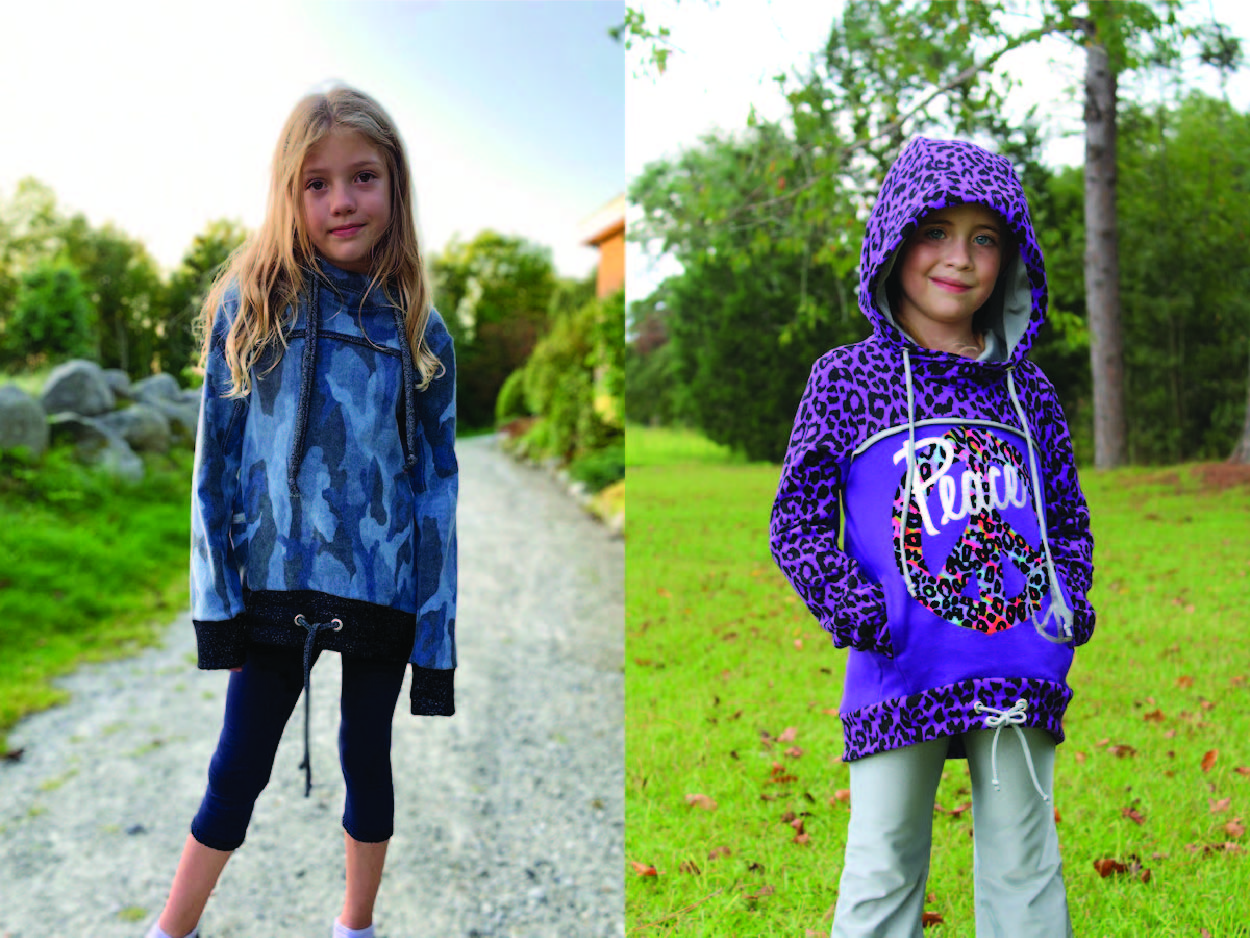
 Kyla made up this matching sister set with one hooded and one not. Could they be any sweeter!?!?!!! Janine also opted for the neckband version for her daughter who prefers no hoods. That front panel looks like a view straight from my northern Canadian back-yard!
Moving down from the hood we have a curved horizontal seamline across both the front and back of the hoodie. These lines create the perfect opportunity to insert a coordinating fabric, piece of trim or a pop of colour. Instructions and a cut chart are included for adding these optional details.

We love the clean and simple look of this white fabric trim that Magen chose for her hoodie.
The front angled panel also functions to house a hidden pocket for those that desire it.
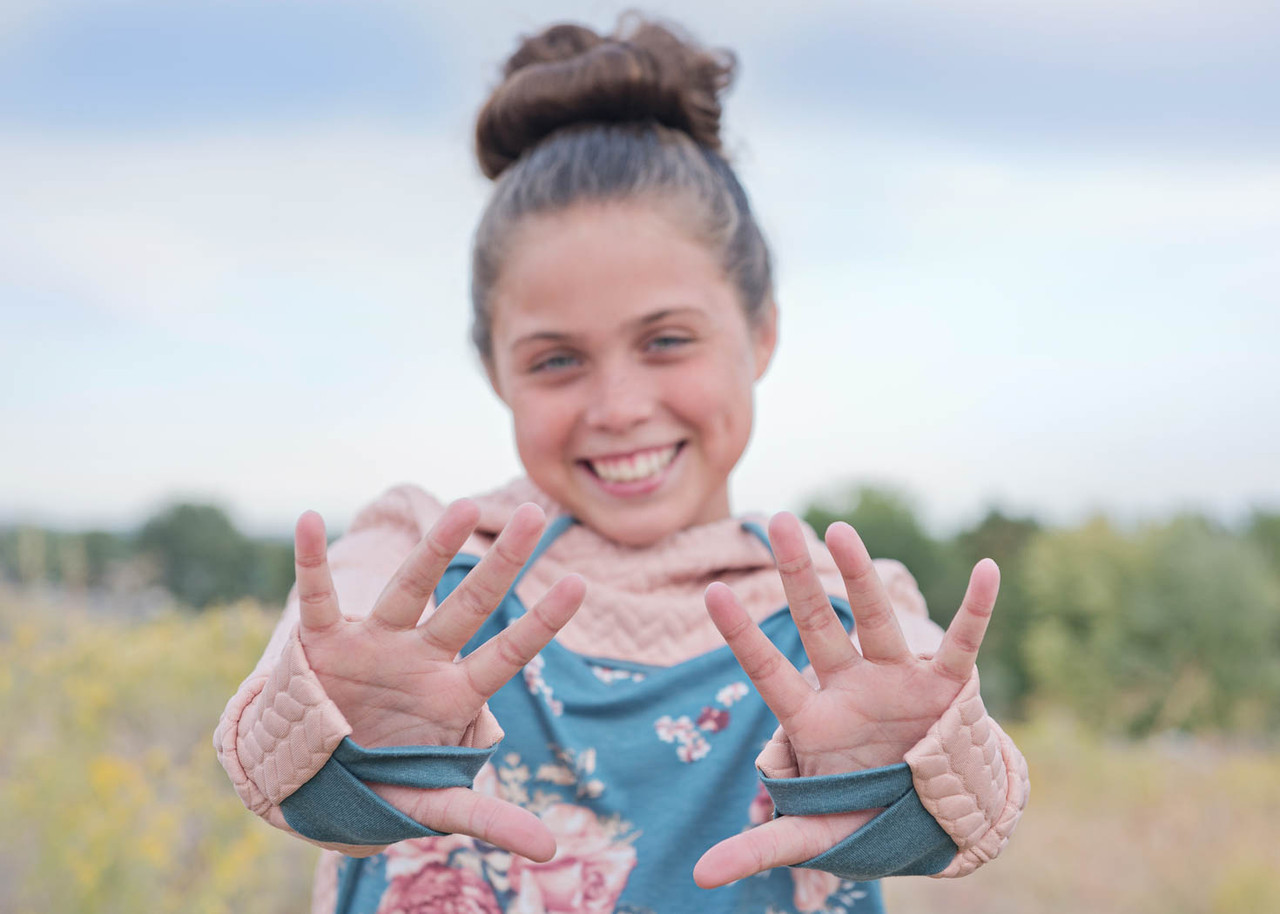
 Erika's daughter is sure to be cozy in this fleece version of the hoodie; and we can't get over that amazing smile from Jennifer's daughter as she cozied up in her Bonfire. I don't know about you, but my youngest daughter loves thumb cuffs so it was pretty much a no-brainer that this hoodie was going to have that option! I opted for something a little different than the traditional style, but that still gave that same cozy hands-tucked-up-in-the-sleeve feel.
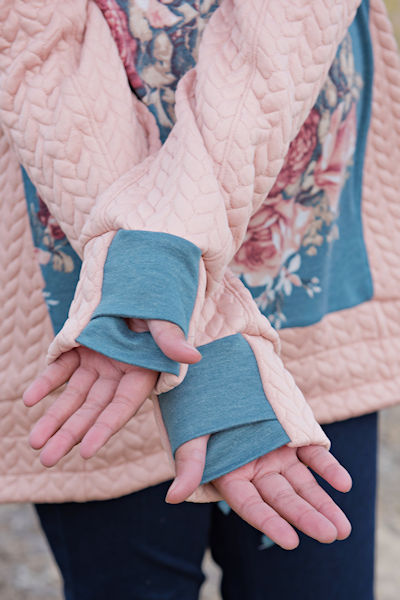
Kyla took the opportunity to colour block her thumb cuffs, and we just love the final result!
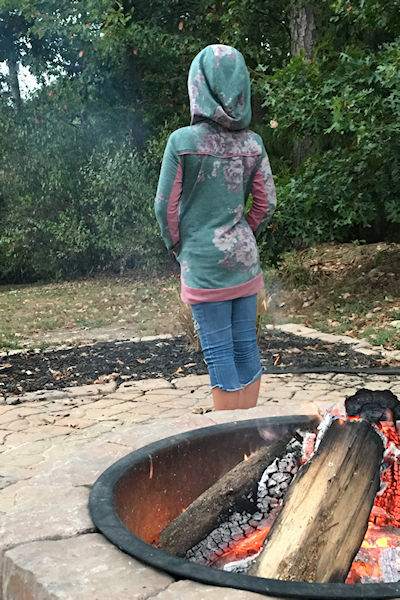
One final detail on this hoodie is the hemband. It's that high-low cut that gives the perfect coverage for pairing with leggings/tights. To help give it some structure and stability, topstitching lines follow along the curve of the band. The front section also features an optional, and functional, drawstring.
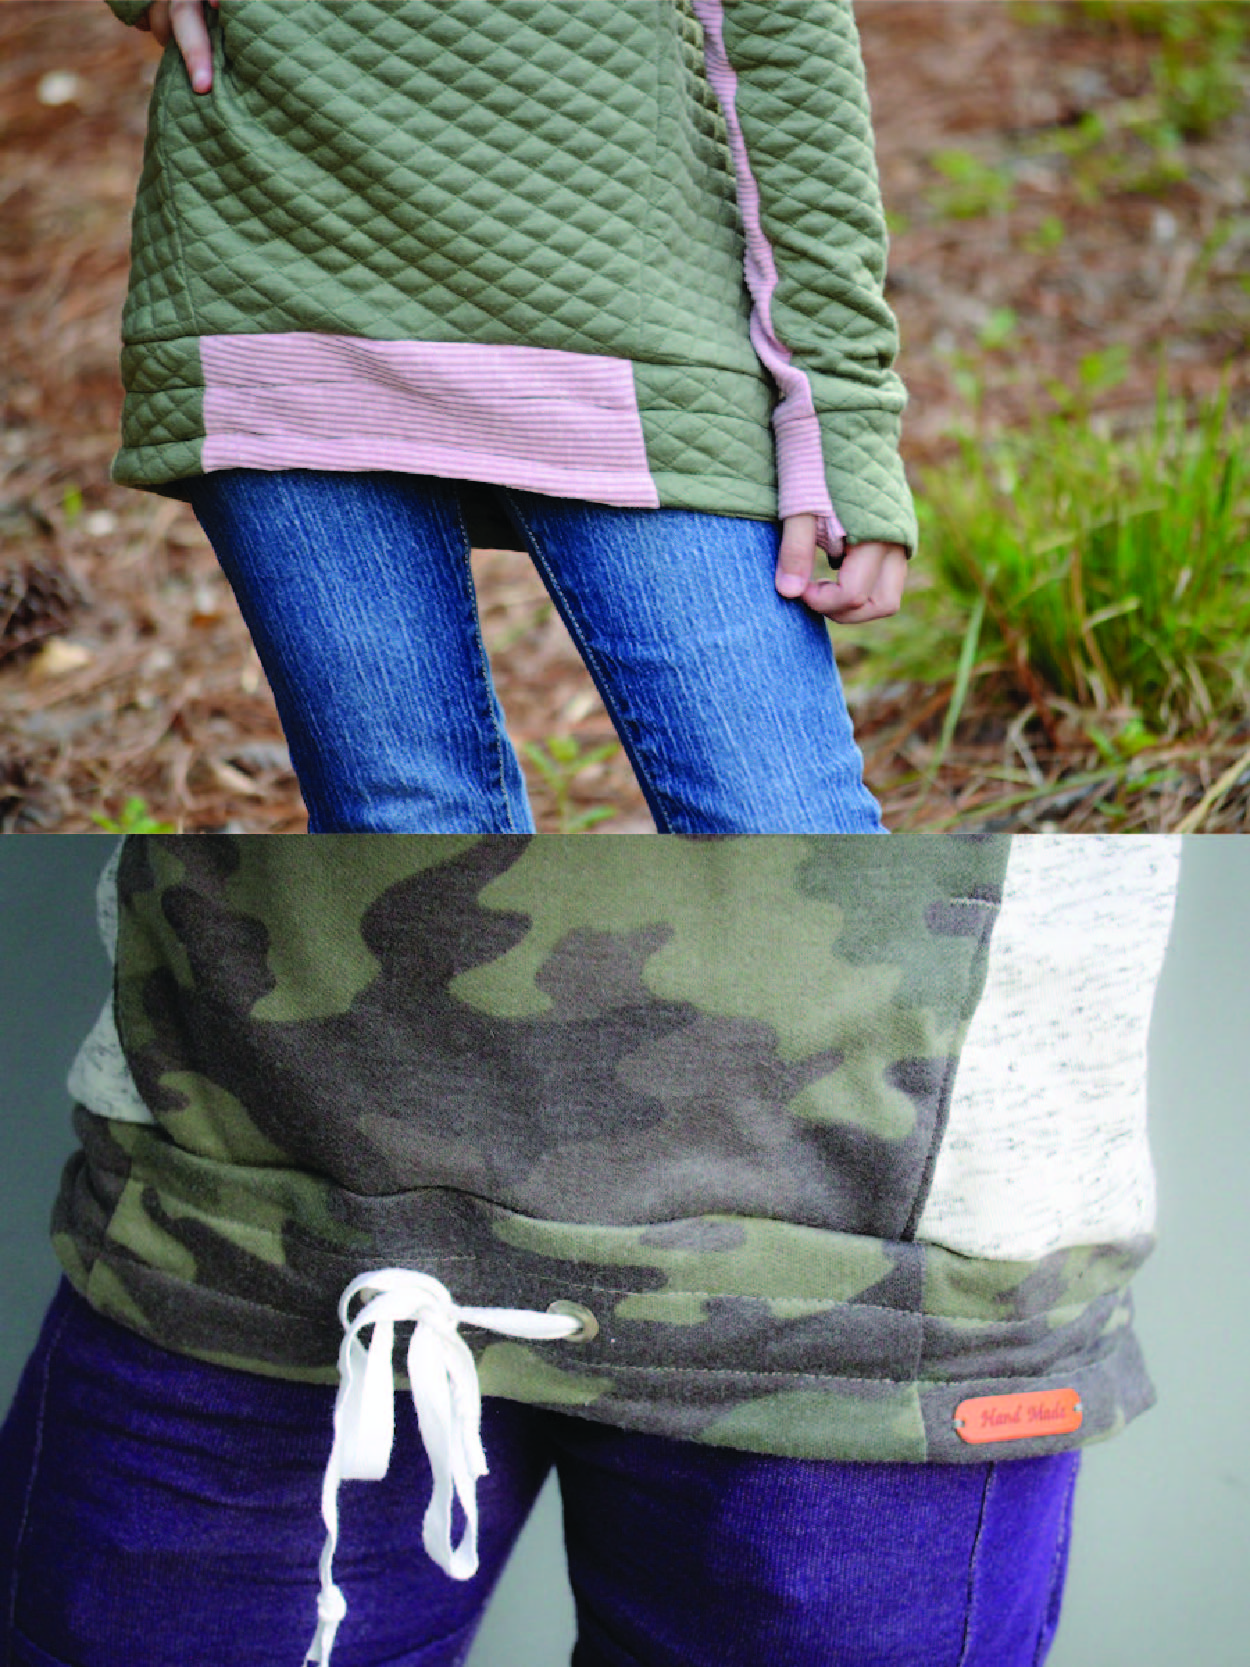
Ashley's version of the Bonfire (Top) is all about textures. We love how she paired a ribbed fabric with a quilted one! Kara's daughter (Bottom) is all about the camo right now, and quite frankly we can't blame her!
During the testing process we had a few testers make their own drawstrings rather than use purchased ones. This is a great option for colour matching with the hoodie, or even just for those moments when you don't have anything else on hand! To do this cut a strip of fabric that is 1 1/2" wide by however many inches in length the cut chart calls for the drawstring to be. Fold in half lengthwise (RST) and use a stretch stitch to sew it with a 3/8" seam allowance. Trim away half of the seam allowance and turn right side out.
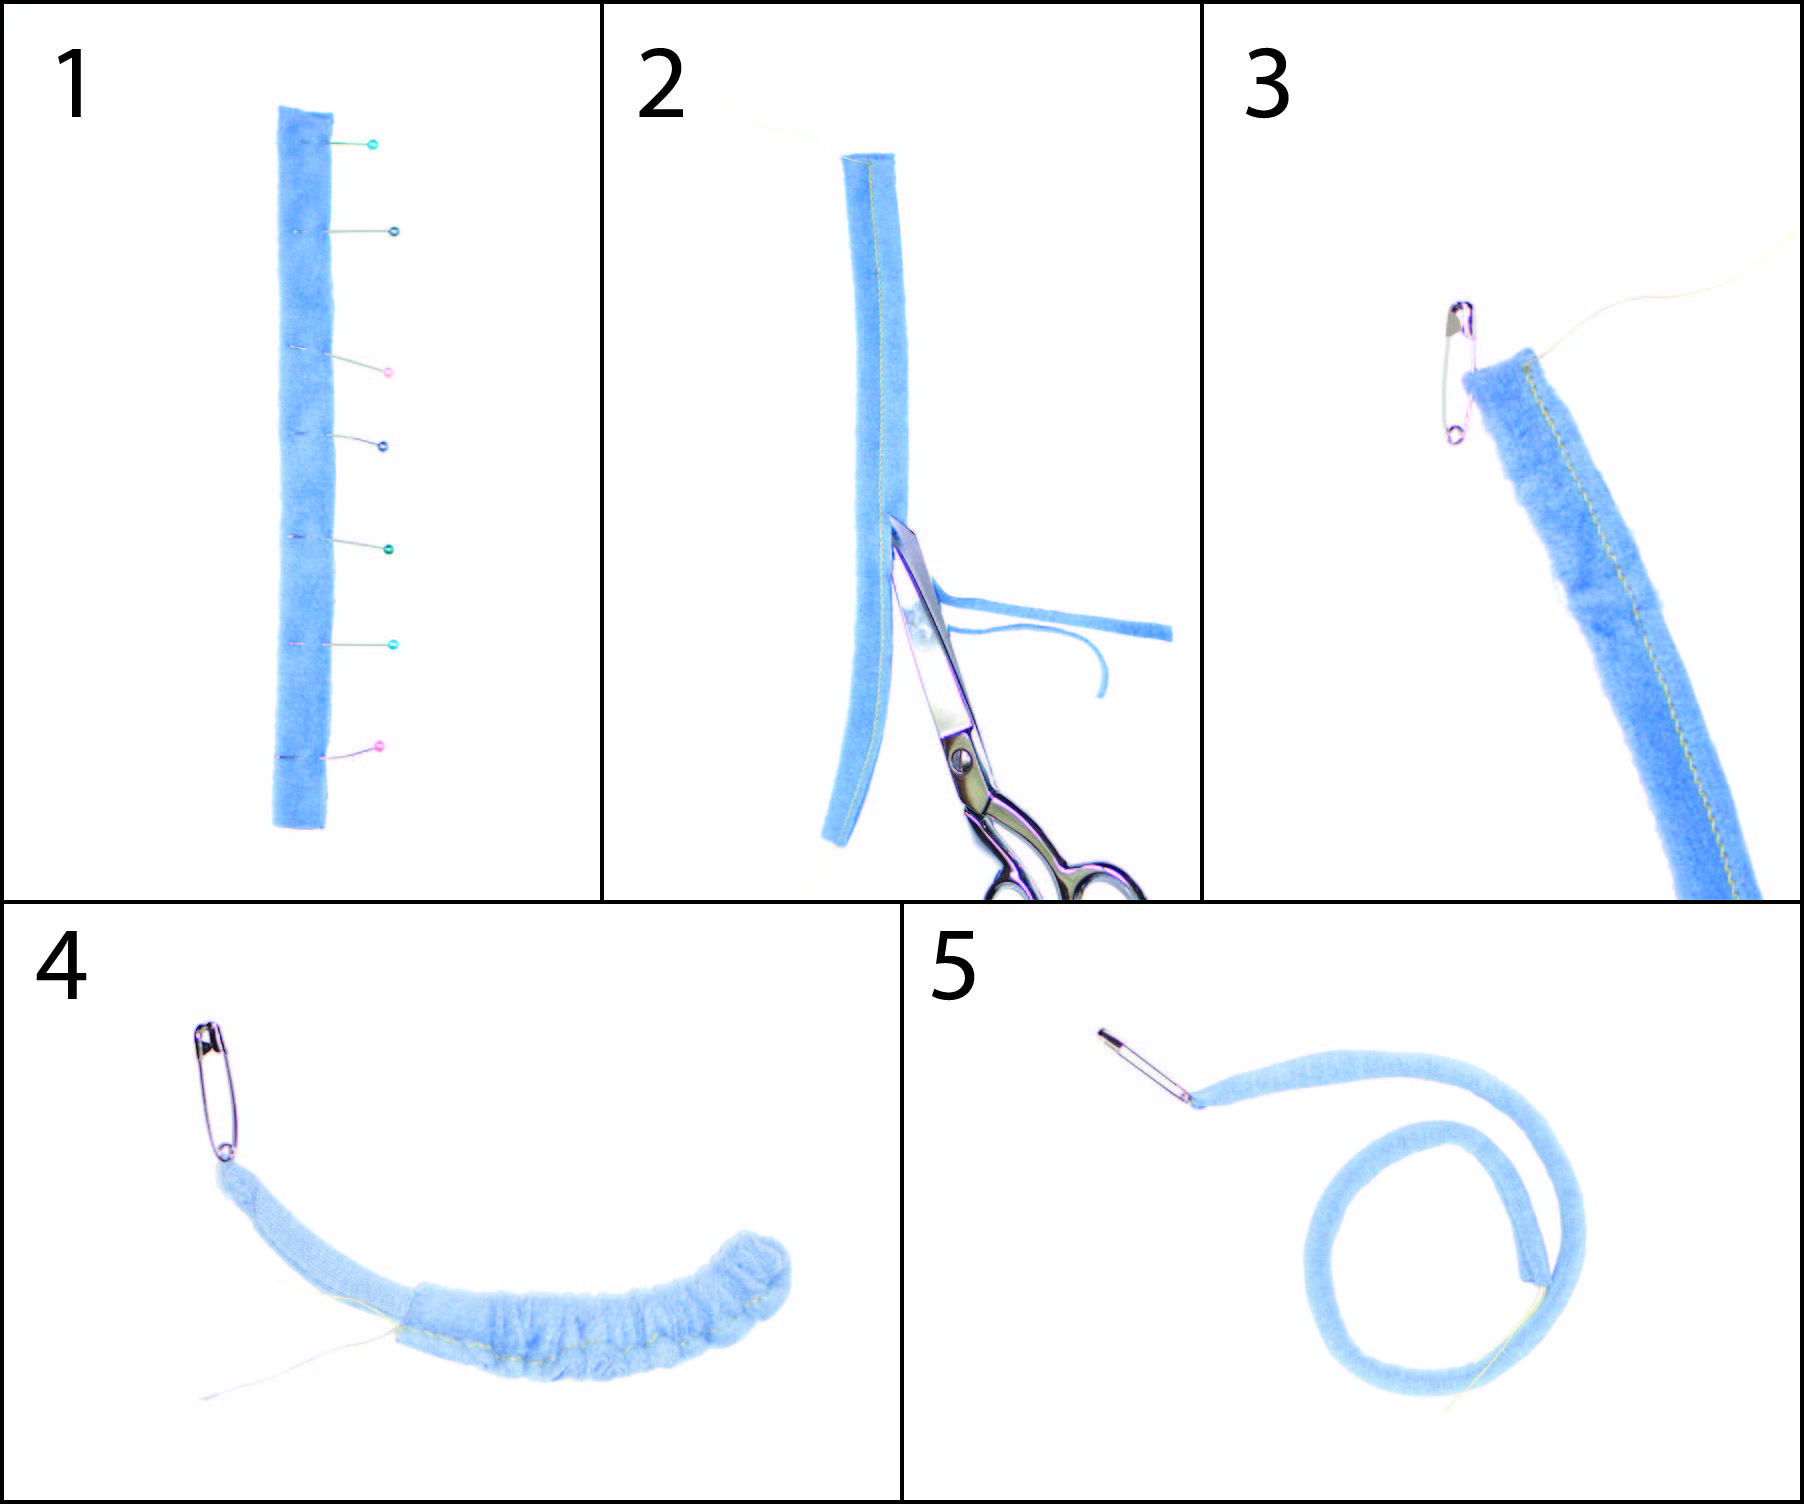
It has been suggested to cut it in such a way that the stretch of the fabric is running the short way across the fabric strip (therefore helping to avoid this piece stretching out when it's turned right side out).
Dagbjort (left) and Danielle (right) were able to get drawstrings that coordinated perfectly with their hoodies by creating their own out of matching fabric.
Let's talk fabrics! This hoodie was designed for (and it's structure holds up best with) mid. to heavy weight knits. To help keep bulk down the hood lining and the bodice linings can be cut from more lightweight fabrics. The bodice lining could also just be eliminated if desired. It's main function is to conceal those front and back bodice cross seams. The thickest portion to sew/serge is when applying the hood - so keep that in mind when choosing fabrics for that area.
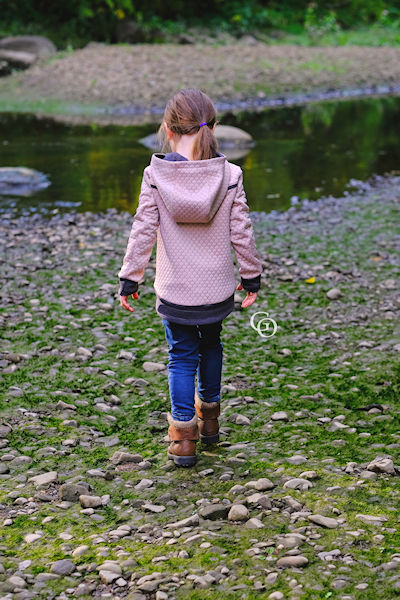
Genevieve's quilted knit hoodie combines both amazing structure and cozy feelings.
The pocket is another location that the bulk can be reduced by choosing a lighter weight fabric, but we offer this warning: lighter weight fabrics can also tend to "sag" in this area so just make your choice with that in mind.
We hope you enjoy this hoodie as much as we do, and we can't wait to see what you come up with! Share your makes with us on Facebook and IG: #sofibonfire #bonfireinthewild #sofionadesigns

Heather's daughter drops an appropriate "Dab".