The newest release from Sofiona Designs is called the Fireweed. I started drafting this dress about 2 months before we launched as an official company so it's been on my mind for a long time! Winter came and the idea of a sleeveless dress for the cold months wasn't great so I put it on hold. When I pulled it out again I knew I wanted to have some good pictures with actual Fireweed, but I didn't realize how perfectly it would be timed! The week before we started to release, the Fireweed really started to bloom.

Photo: me @mamidesofiona
As per usual, this post is to talk about a few things we found during testing that we're sure you'll want to know before you start your own dress. And to give you a quick rundown about the pattern.
This is not one of those patterns that come with so many options that you could wear it as a swimsuit or snowsuit, depending on your choices. You can, however, still have lots of fun with it and make some unique dresses.

Photo: Erika @erikamadewithlove
What Fireweed is/has:
- Knee length dress
- Princess seam bodice
- V neck in front and back
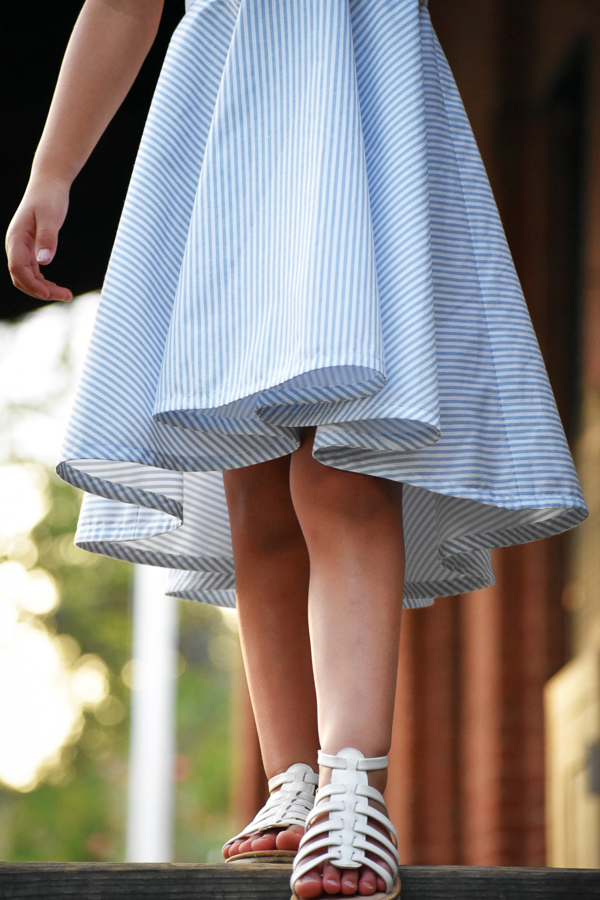
- Gathered skirt with a deep hem or hi-lo circle skirt
- Optional circle cut flounces at neckline, princess seam, and armscye
- Invisible zipper
- sizes 2-16
Did you notice that last one closely??? This is the first pattern for us that goes up to size 16 and we plan to continue that from now on.
With the 3 possible locations for the flounces (or not), this is where you can make some choices that suit your style. I, personally, love the way I can make matching dresses without fully matching by choosing only certain flounces or using trim instead.

Photo: me @mamidesofiona
Using a contrasting fabric for the underside of the flounces is the perfect touch.

Photo: Zoe @zoe_craggs
A few testers chose to add buttons as details down the front and then simple trim in the princess seam.

Photos by: Jess @giggles.and.love and Sarah
Fabric selection: This is always important. If you are a somewhat new sewist, I wouldn't recommend using this pattern to experiment on new fabric types that you are not used to. Quilting cottons or similar, stable wovens are really the best for a trial run. Fabric substrates that are more "fluid" tend to need more pins and more patience, so choose based on what you know and how much you are wanting to experiment.
TIP: If you are using a lighter weight fabric, you will want to stabilize the main waistband pieces for a nicer finish.
This gorgeous tester version was made with sateen. It was a labour of love for her daughter's birthday dress and she'll tell you it was a true labour indeed!! The result is something her daughter loves to no end. Often our extra struggle to pull a vision together is totally worth it.

Photo: Katy @katydesmarais
Gold fabric added a special touch to this dress that is made with only the princess ruffles.

Photo: Carmen @thats.a.given
Sizing: The bodice is meant to be fitted. I added some width during the testing phase when we realized just how much room a food belly needs!! The general instructions for choosing a size is to size up when measurement is halfway between sizes. I did my utmost to make sure that would work, however, I am going to STRONGLY suggest to make a lining first to test the fit. Especially if you are making this for a special occasion such as a wedding or the like. You'll want it to have that gorgeous fitted look for that day. Personally, I don't think this is the style that you'll want to make big to grow into. But that doesn't mean you can't do it! Just an opinion.

Photo: Jenny @madeofstarlightcouture
This is our first pattern with a zipper!!! I happened to get an invisible zipper foot for my sewing machine a few months ago. Just on a whim. Well, let me tell you! This is way up there on "must have" sewing accessories!! The first time I used it I couldn't believe how perfect that zipper looked. I could push those feet on any and everyone like it was a pyramid scheme!! (Just kidding. I'm not knocking network marketing. I sell Arbonne once in awhile too. LOL) Just sayin', you want one!!

Photo: Sarai @sarai_hobbies
I threw around the idea of putting together a special Sofiona Sewing School tutorial for the invisible zipper, but I decided to refer you to my on-again-off-again friend, Google. There are really a good number of great tutorials all about zipper installation and I think the world likely has enough now. I feel you're in good hands. Better hands than mine, I'm sure.
I think it's safe to say that the front V is the trickiest part of the pattern. Trying to get those flounces as far into that V as you can and get both sides equal distances from the V, it takes a bit of patience and concentration. What you'll notice on different versions is that even if they aren't all the way into that V, they are still completely gorgeous!

Photo: Geneviève @genevieve_o
SEAM ALLOWANCES!! There are 7 vertical seams (8, if you consider one on either side of the zipper.) This means that if you are not watching your seam allowance closely it can make a big difference. Think about it. If, at each seam, you sew 1/16" more than the 3/8", you will have lost a full inch from your width!!! Just something to keep in mind and you'll find out when attaching the waistband if you made a mistake. Best to check first.

Photo: Annie @dalilahtrew
This is our second pattern with a "darted" bodice following after the Juniper. However, you won't see an actual dart on your pattern piece. In a princess line garment, the darts are drafted into the seam that separates the side from the centre. Without that obvious marking on the pattern piece, you'll need to be sure you've printed the correct bodice.

Photo: Lois @windsorwoollies
The dart is drafted for an upper bust/full bust difference of 1/2-1". While 1/2" seems very minor and wouldn't at all require any special pattern pieces for loose garments or even knit dresses, you will likely notice the difference in a fitted bodice like this. So, take the time to compare the two front bodices if you're unsure of the necessity for your lucky lady that you are sewing for.
Included in the pattern is a link to this Sofiona Sewing School tutorial on how to hem your circle skirt with bias tape. It is, hands down, my favourite way to hem a circle skirt. Both for the guaranteed smooth edge and for the extra pop of colour. I'm not very good on making garments with just one fabric so you can imagine that if there's an opportunity to add another colour in, I'll take it.

Photo: Lindsay @lindsaysewsstuff
It is, however, completely possible to do this without contrasting the hem as well.

Photo: Annie @dalilahtrew
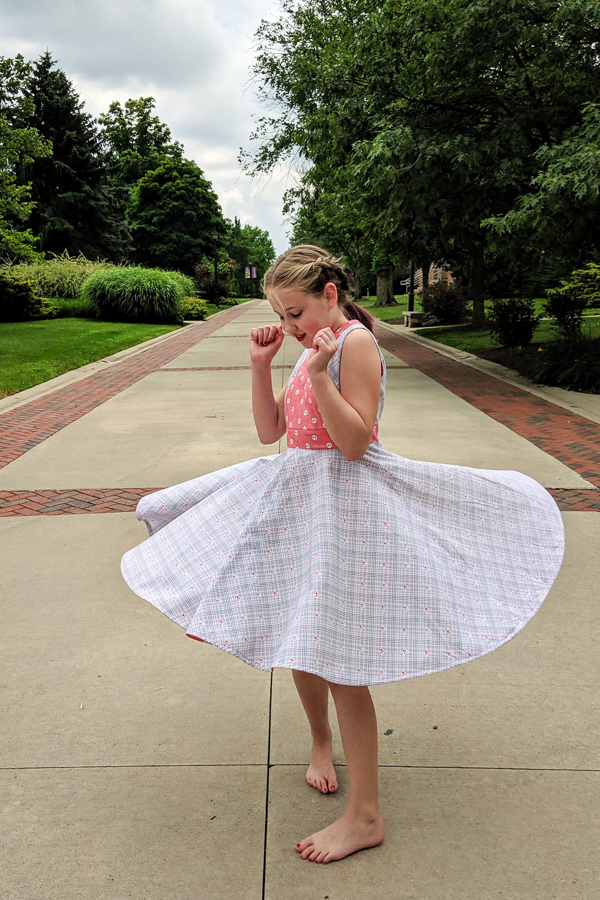
And we all know that a circle skirt is made for twirling!!

Photo: Lindsay @lindsaysewsstuff
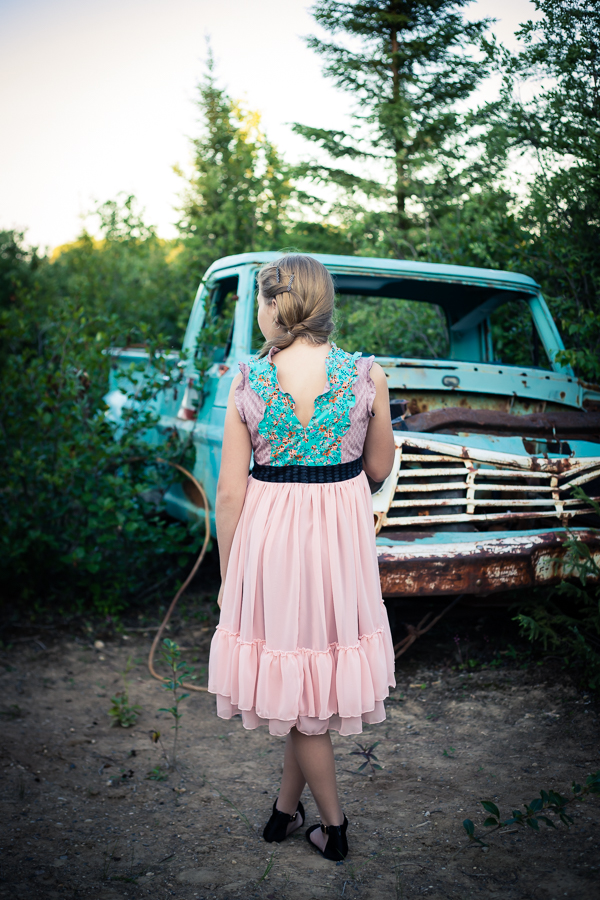
The last thing I'll mention is that this is a dress I want to see you hack!!!! I'm already excited about the day when I see a maxi length hack. Or something like this chiffon skirt that I did for my daughter. It's the hi-lo circle skirt underneath and then I created a gathered hi-lo chiffon skirt for the top layer. I had some fun with a ruffle along the bottom and it feels absolutely dreamy.

Photo: me @mamidesofiona
The second hack I did was to create a straight circle skirt. I even did it out of a velvet which added a different texture.

Photo: me @mamidesofiona
Still have another question about the Fireweed?? Always feel free to ask in the Sofiona Designs Fan Group. Seeing your makes pop up in our newsfeed always feels like a special surprise so keep them coming!
Our IG handle is @sofionadesigns . Find us over there and use #sofionadesigns #sofifireweed or #fireweedinthewild for us to see your work on IG. Literally can't wait to see your makes!!

