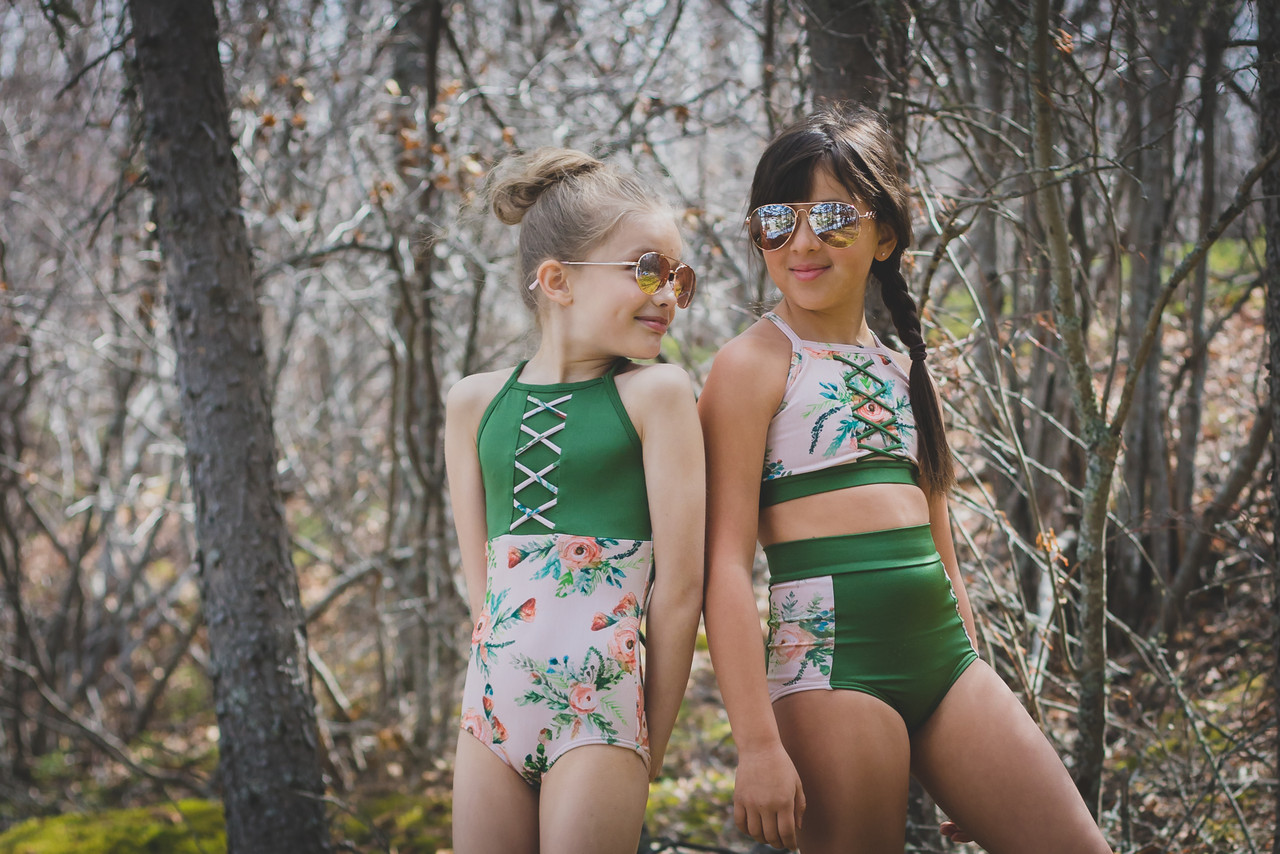
Speaking of kind, Sharon over at Prairie Love Knits was generous enough to offer us a great deal on the fabrics for both this AND the Moss Dress/Swim Cover so we'd have some beautiful options to sew with for the tutorial.
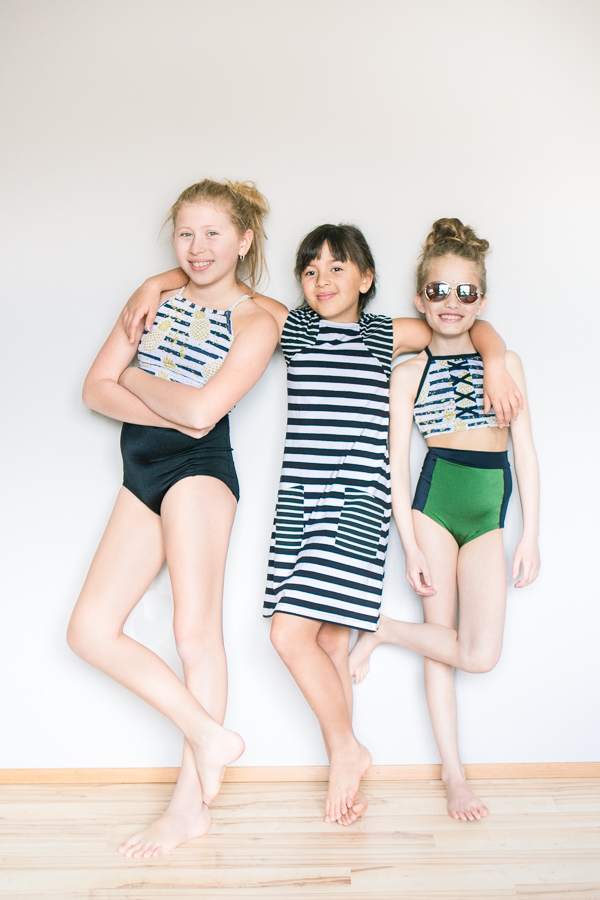
Our girls loved this Prairie Love Knits pineapple print swim. It also made the perfect pairing with this striped Moss Swim Cover (also made with Prairie Love Knits)!

Our families love camping, and so this Prairie Love Knits Burlap Campers print totally spoke to us!
Photo: Sherri @mamidesofiona
And what can we say about this Prairie Love Knits Amariah on Blush floral print??!??! So pretty, so elegant, so wish we could have these suits in our size! Photo: Sherri @mamidesofiona
This suit comes in 2 basic versions: One-Piece with halter neckline and laced straps in the back; or Two-Piece with high waisted pieced bottoms and halter neckline/racerback style top.

Carlie made this beautiful "sisters set", giving each version a try!

Both the one and two piece suits also include a variety of options for piecing/colour blocking/detailing.
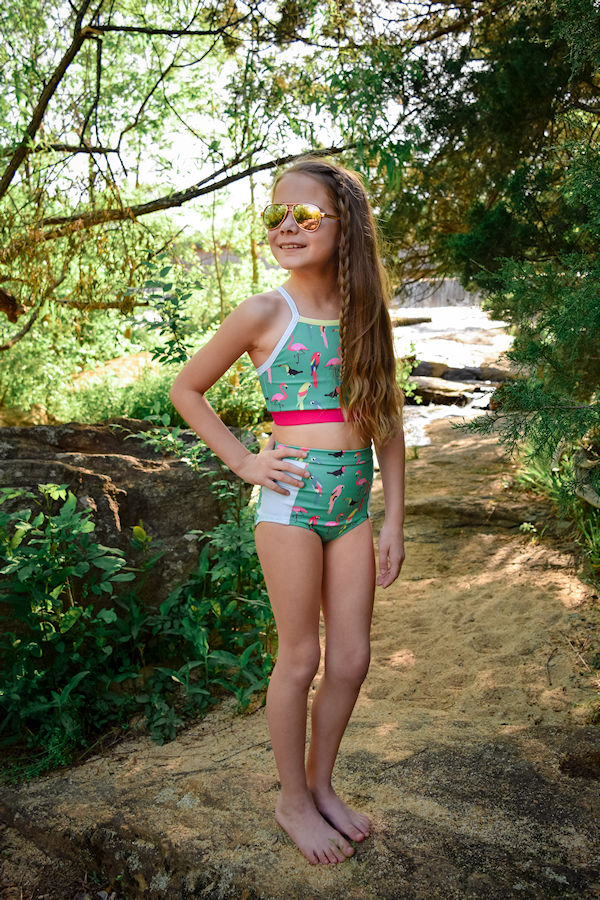
Emily made a 2-Piece with solid upper panel.

Heather's 2-Piece suit included the pieced top panels.
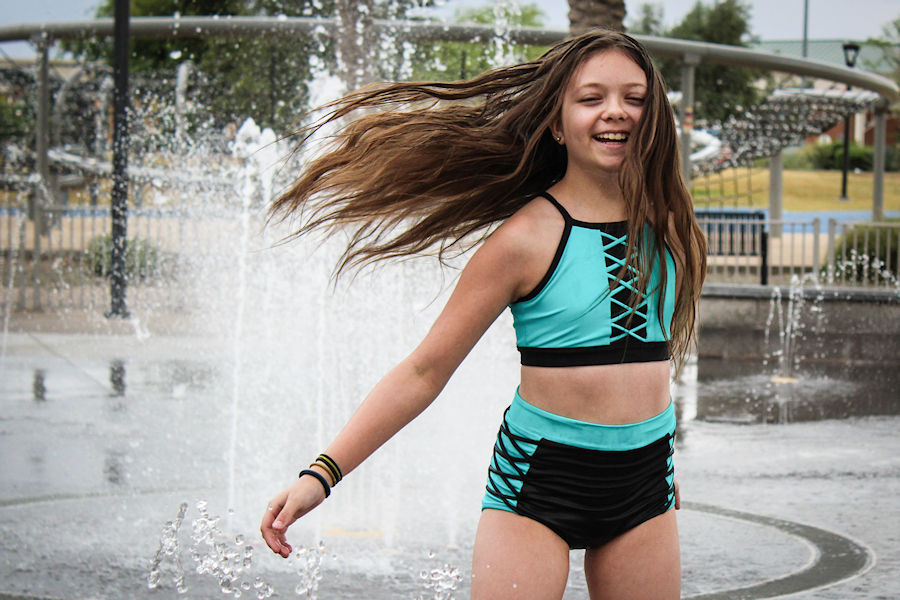 Kara did all the piecing and detailing she could. We love those little criss-cross details!

This solid 1-piece suit that Sara made offers the simplest of options, but still gives a stylish and beautiful silhouette.
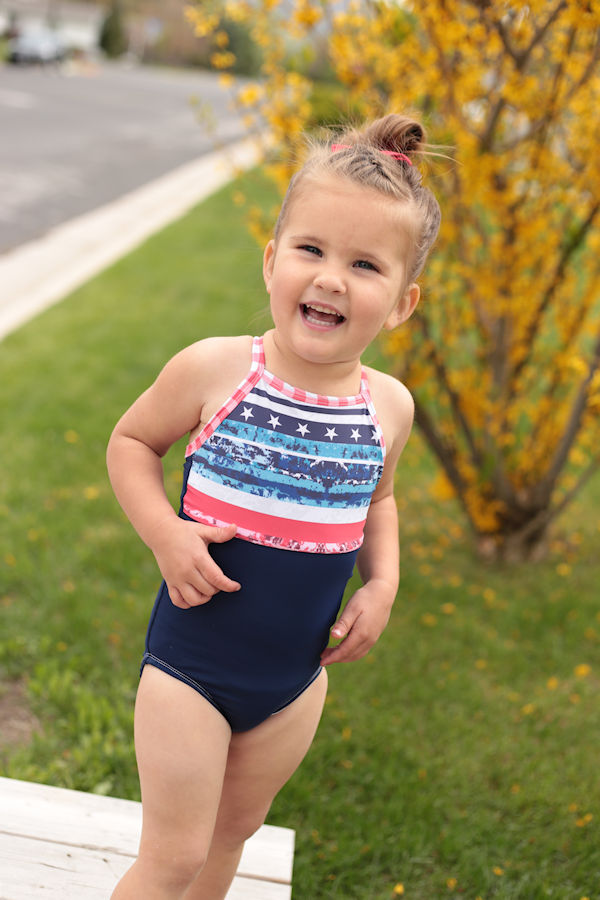
Michelle chose a 1-piece suit with a solid upper panel, giving her the chance to really show off that accent fabric!
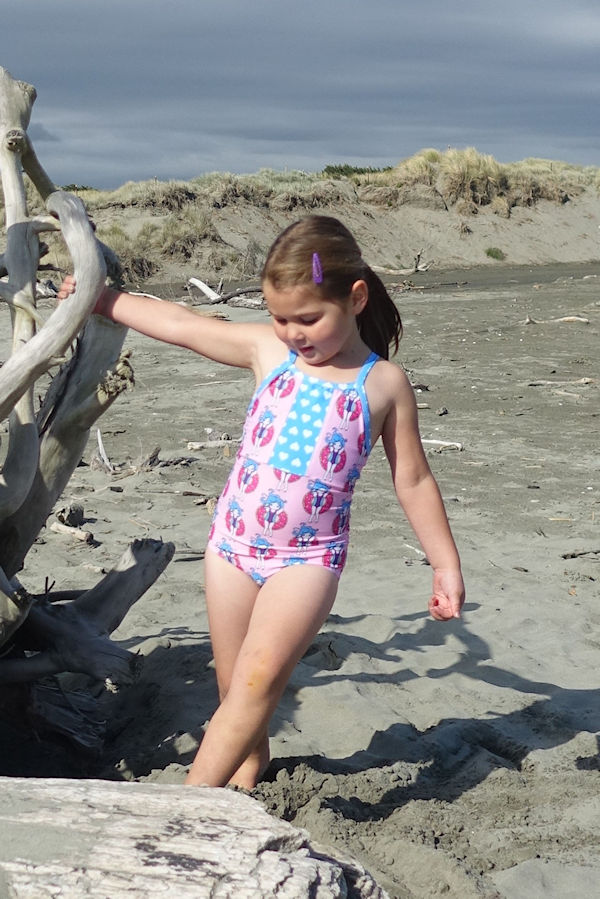
Lois made a 1-piece suit with all the upper piecing options.
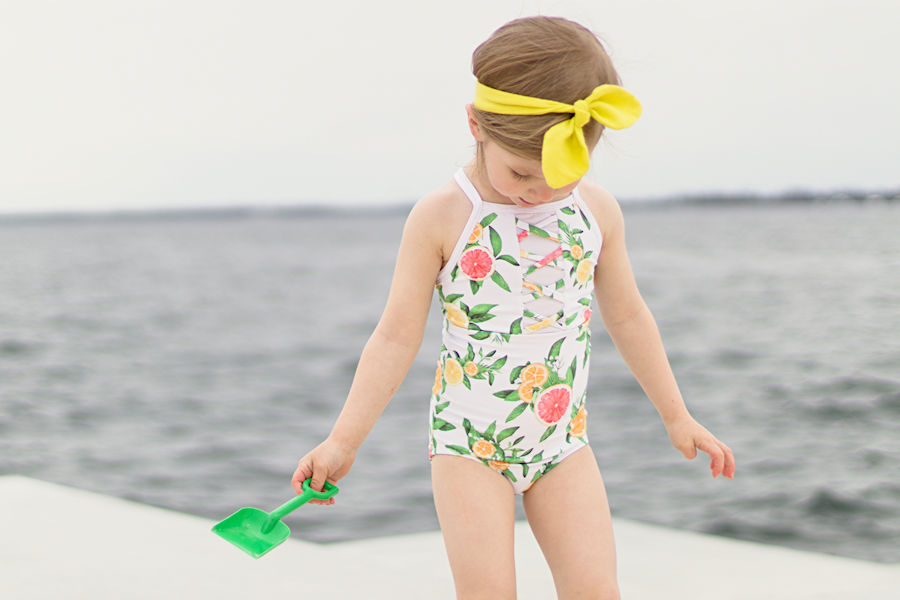 This fresh citrus-y beauty is from Kimberley. If you look closely you can see the subtle criss-cross details she added to the center panel.
And, of course, the unique backs of each style of suit:
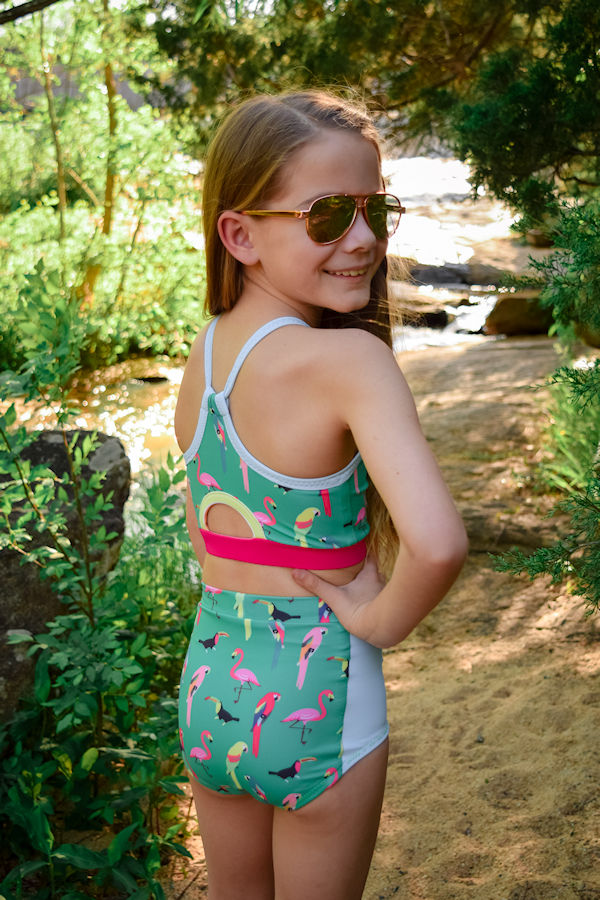
We love seeing how each person choses to colour match or piece their projects. This binding/band colour combo from Emily were such a great idea!

The 1-piece suit continues the criss-cross/lacing theme with the straps making this beautiful design down the back of the suit. We love the pop of pink colour Sarah used against the gingham!
As our tester pics started coming in, we found ourselves delighted by one other idea (and of course HAD to share it with you)!
 Angela added some matching beads to her criss-cross details before sewing them in. How cool does THAT look!??!

We also discovered that the ends of the 1-piece straps were a great place to add some beading details! Sara was able to pull in some of the main fabric colours with hers.
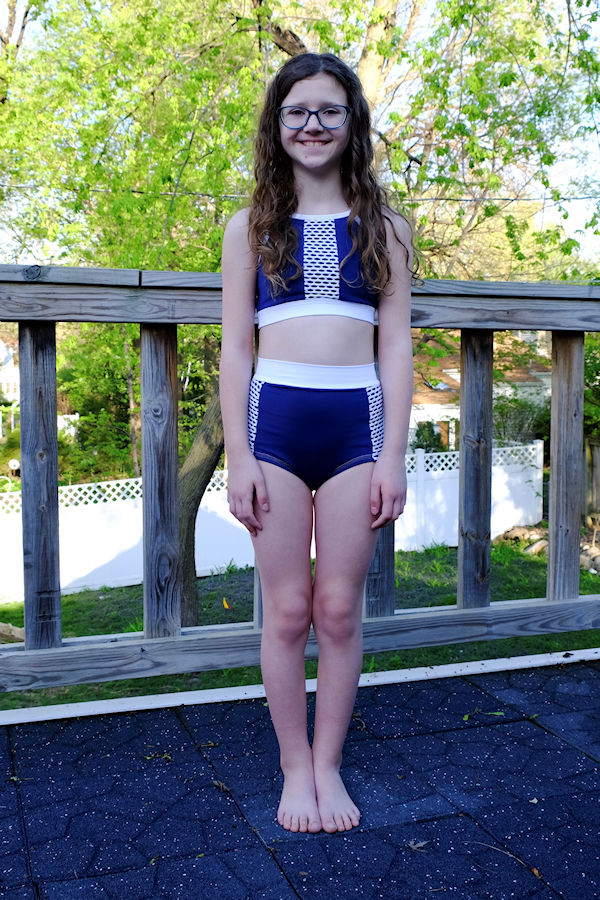
Stephanie chose to layer some large mesh over her simple navy swim fabric to create this simple yet stunning detailed effect.
Now that we're all inspired by those amazing tester makes, one of the absolutely biggest tips that we want to highlight here is the use of a craft glue stick (the kind you would find on your kids school supply list). One of the most helpful places to use it is when doing the binding. Swim fabric is slippery! While the glue won't bind it in place like pins and clips will, it WILL help tack it in place/keep it from sliding as you're trying to fold all those raw edges in and keep a nice even width on the binding.
Once the first long edge of the binding is sewn on, apply a little bit of glue to the wrong side of the other long edge. 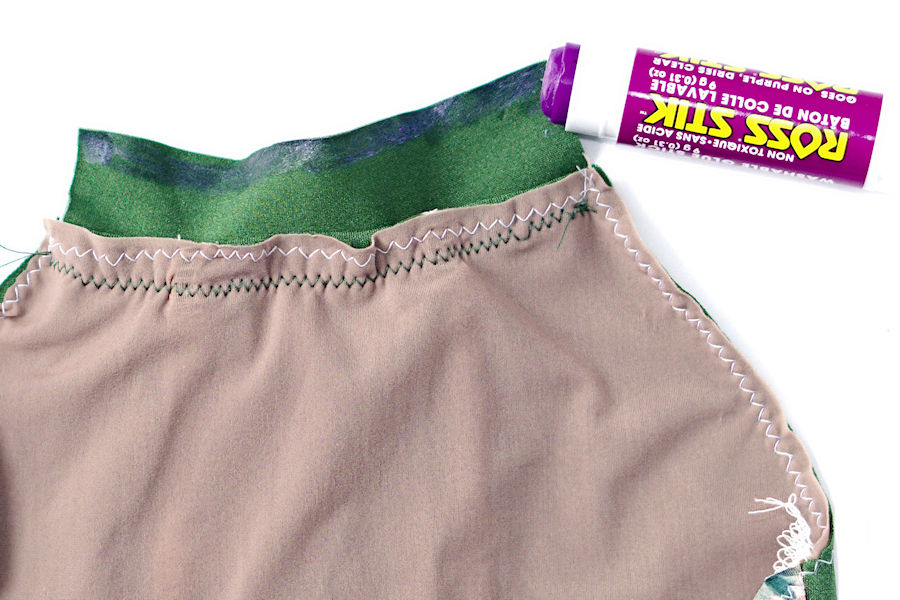 Fold that edge (wrong sides together) towards center, pressing it in place.
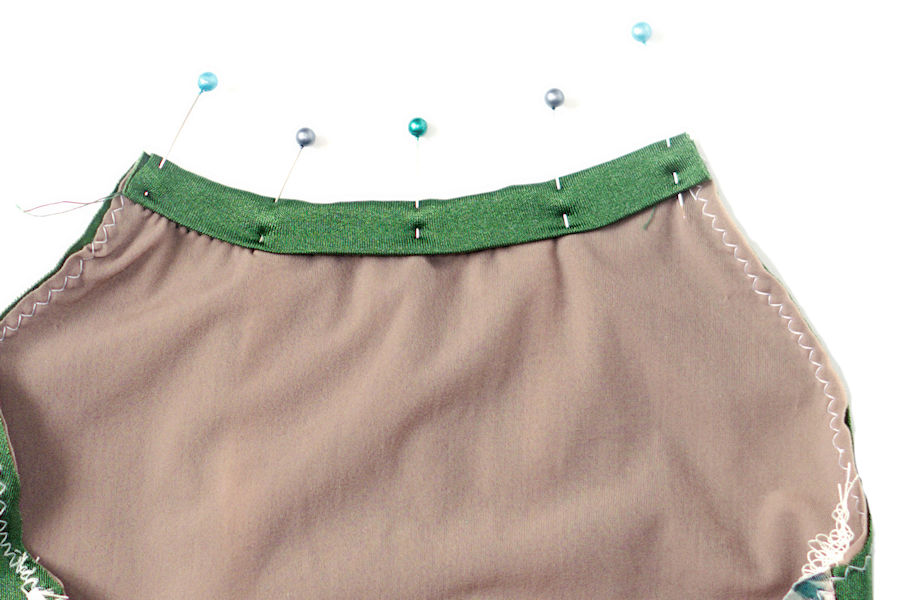
  The glue should hold it, making it easier to now fold the glued section along the center fold line and enclose the binding/swimsuit raw edges.
We can't wait to see how you choose to piece and style your own Narwhal Swimsuits! Please be sure to share them with us on Facebook and Instagram! #sofinarwhal #sofionadesigns #narwhalinthewild

